
Module · Invitations & day plan
Where to find it in the app
- Use it: Bookings → Day plan
- Turn it on/off: your business name (top-left) → Settings → Modules → Bookings → Invitations & day plan
Plan: Business · Module group: Bookings & schedule · Navigation:
Bookings → Day plan(plus invite controls on each booking)
1. Overview
Purpose. Two related extras for businesses that run events, weddings, functions, parties, corporate events, catering:
- Invitations & RSVPs, your customer (the host) gets a shareable link to invite their own guests, who RSVP. You get a guest list and a privacy-safe headcount.
- Day plan, a timed, day-of run-sheet for each booking (a timeline of what happens when), shown side by side for the whole day.
It's deliberately general, not just kids' parties.
2. When to use it
- When the person who books brings guests and you want them to RSVP.
- When a booking needs a timed schedule the team runs to on the day.
3. Required permissions
- View the day plan (
runsheet.view). - View bookings (
bookings.view) to see a booking's invitation and its guest list; Edit bookings (bookings.edit) to turn an invitation on or off. Roles without those permissions cannot read guest names or dietary notes at all. - The host manages their own invitation from the public manage page, no permission involved: the booking reference and email, or the link in their confirmation, is their authorisation.
4. Navigation path
- Day plan:
Bookings → Day plan. - Invitations (per booking): open a booking in
Bookings→ the Invitations panel in the drawer. - Host self-service: the customer uses the public manage link for their booking.
The old "Parties" configuration page is retired, packages and extras now live on a group experience in Experiences.
5. What you'll see
Day plan screen, a date you can step through or jump to with the date picker.
To make today, at the top, is everything the day needs got ready, added up across every booking: Party Bags 40 across 3 bookings, Ice Cream Cake 2 across 2 bookings. It is the list the kitchen works from, so nobody has to read four bookings and total the platters in their head.
It counts both kinds of thing a customer asks for: the paid extras they ticked, and anything they chose off one of your own pick-many questions, such as "which three platters would you like". A party package's own food usually arrives that second way, so leaving it off would give you a list with no lunch on it. Something that arrives both ways (a platter included in the package and bought again) is counted twice, because that is two lots to make.
What they booked is not on the list: the package or the service itself is the booking, not something to make on top of it. It only appears when there is something on it, it never shows prices, and it counts only bookings that are actually happening.
Below it, every booking for that day side by side, each showing:
- its timeline (the run-sheet steps), with the step that is happening now highlighted when you are looking at today,
- kitchen timing (if used),
- check-in / guests with RSVP status,
- the customer's name (which links straight to the booking), their phone, any allergies, the booking reference, and the extras they paid for with their quantities, so the platters and the party bags are on the same card as the timeline.
Cancelled bookings, declined requests and abandoned unpaid holds are left off: the board is who is actually coming.
Print gives you a paper sheet for the wall or the function folder, with the day's To make today list at the top, a tick box against each thing to make, and a tick box against every run-sheet step. What is already ticked on screen prints ticked, so a sheet printed mid-service is honest about where you are up to.
A note reminds you that hands-on running (tapping guests in, working the door) is in the Check-in view; the day plan is the manager's whole-day overview.
6. Turning it on
Settings → Modules→ enable Invitations & day plan (Business plan).- In the booking settings, switch on the sub-features you want, Digital invitations & RSVPs, the Day plan, and kitchen timing / check-in, each is independently toggleable. With the day plan switched off, the menu entry and the page both go.
- Then say which of the things you sell actually use invitations, see below.
6a. Which offerings use invitations
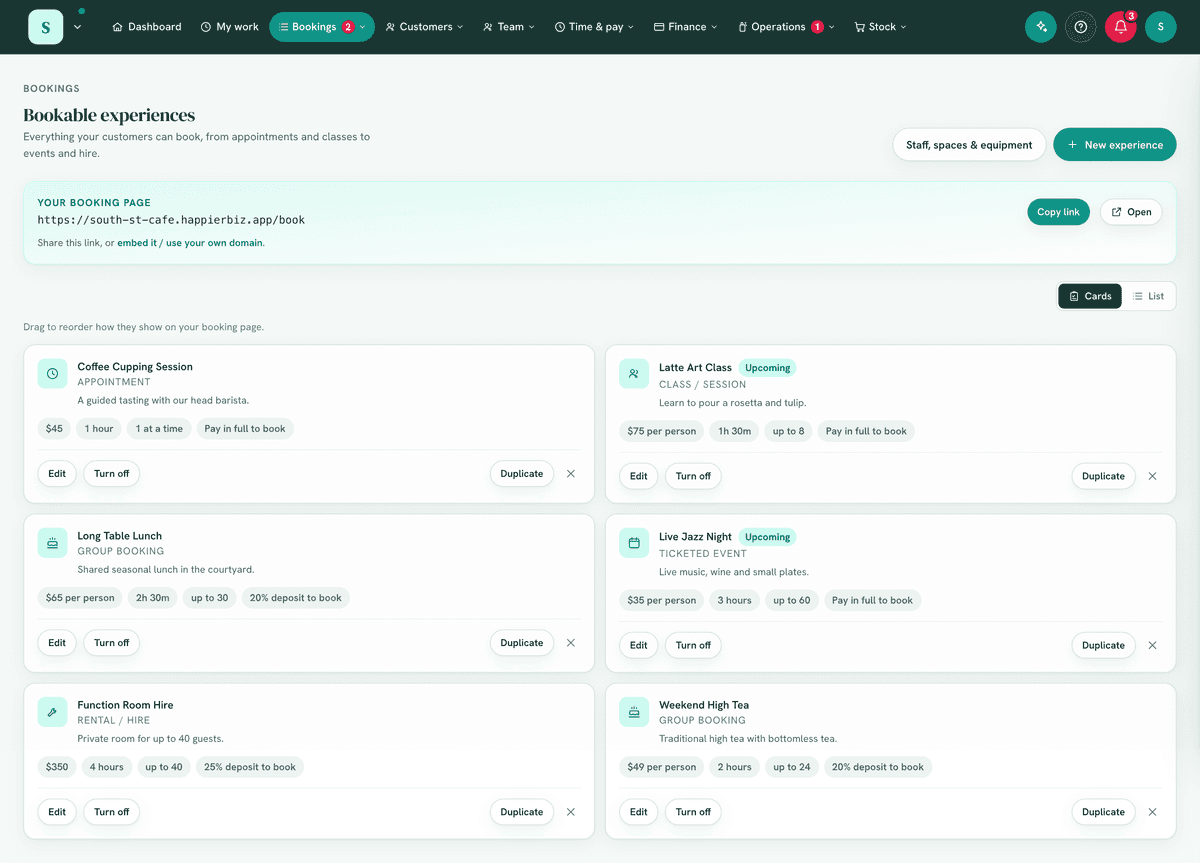
The setting above is the master, "do we do invitations at all". Whether guests get invited is really a property of what was booked, so each offering has its own switch: open the offering in Experiences (whatever you call them), and under Guest invitations turn Offer invitations and RSVPs to whoever books this on or off.
It starts on for everything, so nothing you already had running changes. Turn it off for anything where somebody books a spot just for themselves. A cafe that sells a long table lunch and a one-person coffee cupping session wants it on for the first and off for the second; otherwise the person who booked a single seat is offered an invitation panel for guests they do not have.
The switch only appears once Digital invitations & RSVPs is on for the business, so it is never a control over nothing.
Turning it off closes existing links. Any invitation already shared for a booking of that offering stops taking replies, and guests who open it are told the link is not active. The booking's own Invitations panel says so plainly, so you are not left with a link you think is working. Turn the offering back on and it works again.
7. Step-by-step tasks
7a. Send invitations for a booking
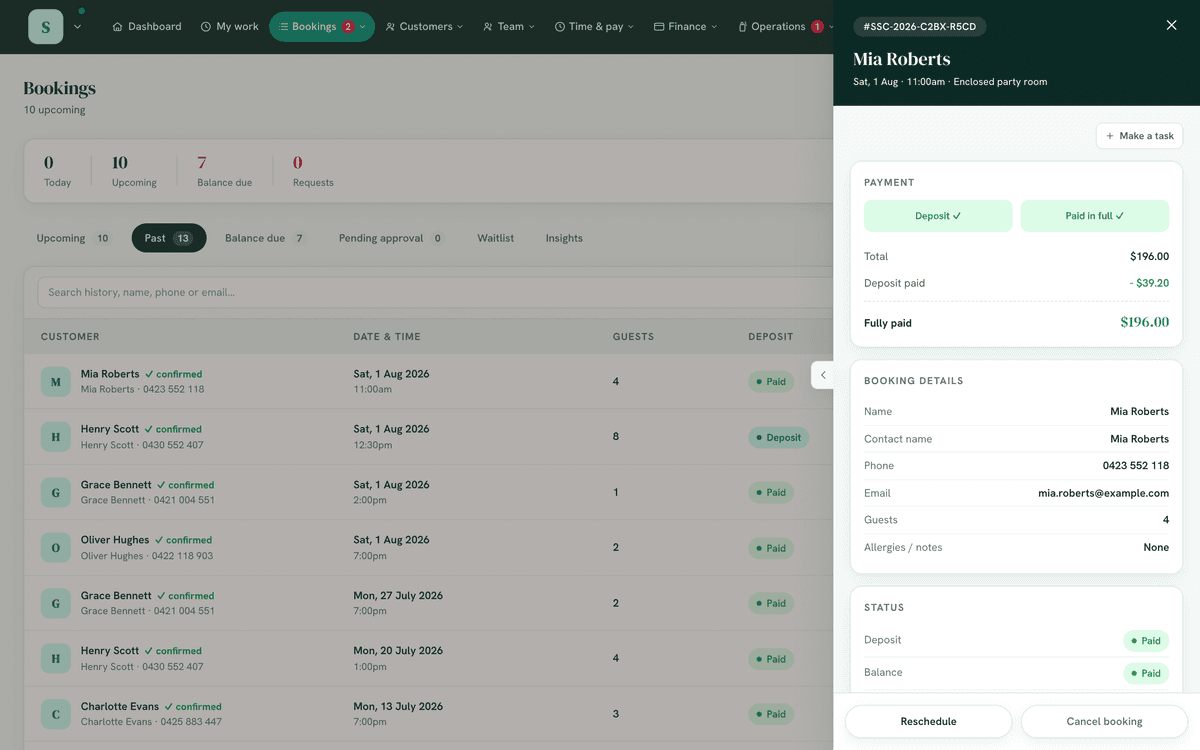
- Open the booking in
Bookings. - In the Invitations panel, enable invites and share the host link with your customer (or they use their manage page).
- The host invites their guests; guests RSVP via the link.
Most of the time you do not need to do this at all: your customer is offered invitations on their own booking page and can set them up themselves. Turn it on from here when they have asked you to do it for them.
7b. Host-managed invites (your customer)
Your customer is offered invitations, they are not switched on behind their back. On their manage page they see a short panel headed Invite your [guests], marked Included, which tells them:
- their booking comes with digital invitations at no extra cost,
- they get one link to send however they like, and their guests reply with their names and anything worth knowing, like an allergy,
- every reply comes back to them, name by name,
- and that you will see how many are coming and whatever their guests type in, so you can have it ready on the day.
Only then is there a button. Nothing is collected until they press it, and they can turn it off again whenever they like. Wording follows your own words for a booking and for guests, and the panel names your business, so it reads as your offer rather than ours.
If you turned the invitation on first, they still get that explanation, worded for a link that already exists, with Yes, let me use it.
7b-0. Knowing your customer has taken it up
The Invitations panel on the booking tells you which of you started it:
| What it says | What it means |
|---|---|
| Your customer set this up themselves on ... | They read the offer and accepted it. Their guests are replying to you, so watch that list for numbers and dietary needs. |
| Switched on from here, not by the customer | Somebody in the back office turned it on. Your customer has not taken it up yet. |
| Off | No invitation. Either of you can start one. |
| Not used for [offering] | This offering has invitations switched off (see 6a), so there is nothing to turn on here. |
| Invitations are switched off for [offering], so this link no longer works | The invitation went out and the offering has been switched off since. Turn the offering back on, or turn this invitation off. |
Turning off an invitation your customer set up asks you to confirm first, because they have probably already sent the link and anyone who opens it will be told the invitation is not active.
You see the guest list and a count, without exposing guests' personal details unnecessarily. Reading it needs View bookings; turning an invitation on or off needs Edit bookings.
7b-i. What the invitation tells guests
The invitation is built from the booking, so there is nothing for you or the host to retype. A guest sees:
- When, the date with its weekday, and the start and finish time. For a children's party that finish time is the pick-up time, which is the question most guests actually have.
- What, the name of what was booked, how long it runs, and your own description of it. That description is the one on the offering, so editing it in the builder updates every invitation.
- Where, the address, a map and a Get directions button. For an offering marked we come to you, the address shown is the one the host gave instead.
- Who, how many have said yes so far. A count only, never the guest list.
- Add to calendar, for Google and for Apple / Outlook.
- Your business name and phone number, so a guest who cannot find the place can ring someone.
Two things a guest never sees: the guest list itself, and the access notes the host gave you about getting in (gate codes, where the key is). Those stay between you and the host.
Once the booking's finish time has passed the invitation stops asking for replies and says so, rather than collecting RSVPs for something that has already happened. Cancelling a booking closes its invitation immediately.
7b-ii. The host can hide the address
Under Share this link on their manage page, the host has Show the address on the invitation, with the address printed underneath so they can see exactly what their guests will get. It is on to begin with. If they turn it off, the invitation carries no address and tells them so, because their guests then have to be told some other way.
This matters most when the address is the host's own home, which is the case for anything marked we come to you: an invite link gets forwarded, and it is their call whether their address travels with it.
If your own address is switched off in Settings → General ("Do customers come to
you?"), no invitation shows it, whatever the host chooses.
7c. Build / customise your run-sheet
- On the Day plan screen, click Settings (top right). You need Manage settings to see it.
- Steps are timed in minutes from the booking's start, not clock times, so
one sheet fits every start time. A negative number is before the start:
-15 Set up,0 Customer arrives,60 Wrap up. The preview underneath shows how that lands for a booking starting 10:00am, and it is exactly what the board will draw. - Give every step a name. A step left unnamed is not saved, and you will be told which one.
- Save. If you edited more than one kind of booking, all of them save together.
One sheet, or one per kind of booking? Most businesses need one. Your run sheet is the catch-all and covers everything. If a particular kind of booking runs differently, the tabs beside it let you give that kind its own sheet; you are only offered the kinds you actually sell, plus + Another kind if you want one you have not set up yet.
Reset to default deletes the sheet you built for the kind of booking you are looking at and goes back to the starting steps. It asks first, and tells you how many steps you are about to lose; there is no undo.
7d. Run the day
- Use the Day plan for the overview. On today's board the current step is highlighted and everything already past is dimmed.
- Print the day if your team works off paper; every step gets a tick box.
- Use Check-in to tick guests in as they arrive and work the door (see Bookings → Check-in).
8. Examples
- Beginner (kids' party): the parent gets an invite link, friends RSVP, and staff follow a simple arrive → play → food → cake → home day plan.
- Real-world (wedding/function): the couple manage their own guest list and RSVPs; the venue builds a detailed timed day plan with kitchen timing.
- Advanced (corporate event): multiple bookings on one day each have their own timeline, shown side by side so the team can see the whole day at a glance.
9. Reports & exports
Print on the Day plan produces a one-page-per-day paper sheet: each booking's
time, customer, headcount, allergies and full timeline, with a tick box against
every step. A link with ?date= on it opens a specific day, so you can send
Saturday's plan to whoever is running it. The guest list and RSVP counts sit on
each booking; guest arrivals are recorded via Check-in.
10. Common mistakes
- Expecting invitations without the sub-feature on, enable Digital invitations & RSVPs in booking settings.
- Looking for packages here, they moved to Experiences (group type).
- Editing the run-sheet on the day and not telling the team, it's a shared board; communicate changes.
- Expecting a timeline on a booking with no start time, a walk-in has none, so the card says so rather than inventing one.
- Reading step numbers as clock times, they are minutes from the start.
11. Troubleshooting
| Problem | Fix |
|---|---|
| The Day plan link isn't in the nav | The module or its day-plan sub-toggle is off, or your role lacks View the day plan. Opening the page directly does the same thing, by design. |
| The Invitations panel isn't on a booking | Enable Digital invitations & RSVPs and ensure the module is on. |
| The panel says "Not used for ..." | That offering has Guest invitations switched off. Turn it on in the offering, not on the booking. |
| A customer says the invite link stopped working | Check Guest invitations on the offering they booked. Switching it off closes every link for that offering. |
| Guests' details aren't fully visible | By design, the count is privacy-safe; you don't need every guest's personal data. |
| The panel says "You do not have permission to view this booking" | Your role is missing View bookings. Guest lists are not open to the whole team. |
| Your customer says they never turned invitations on | They may not have. Check the line under the switch: it names whichever of you started it. |
12. Error messages
Run-sheet edits and invite actions confirm inline. The host's manage page guides them through inviting and collecting RSVPs.